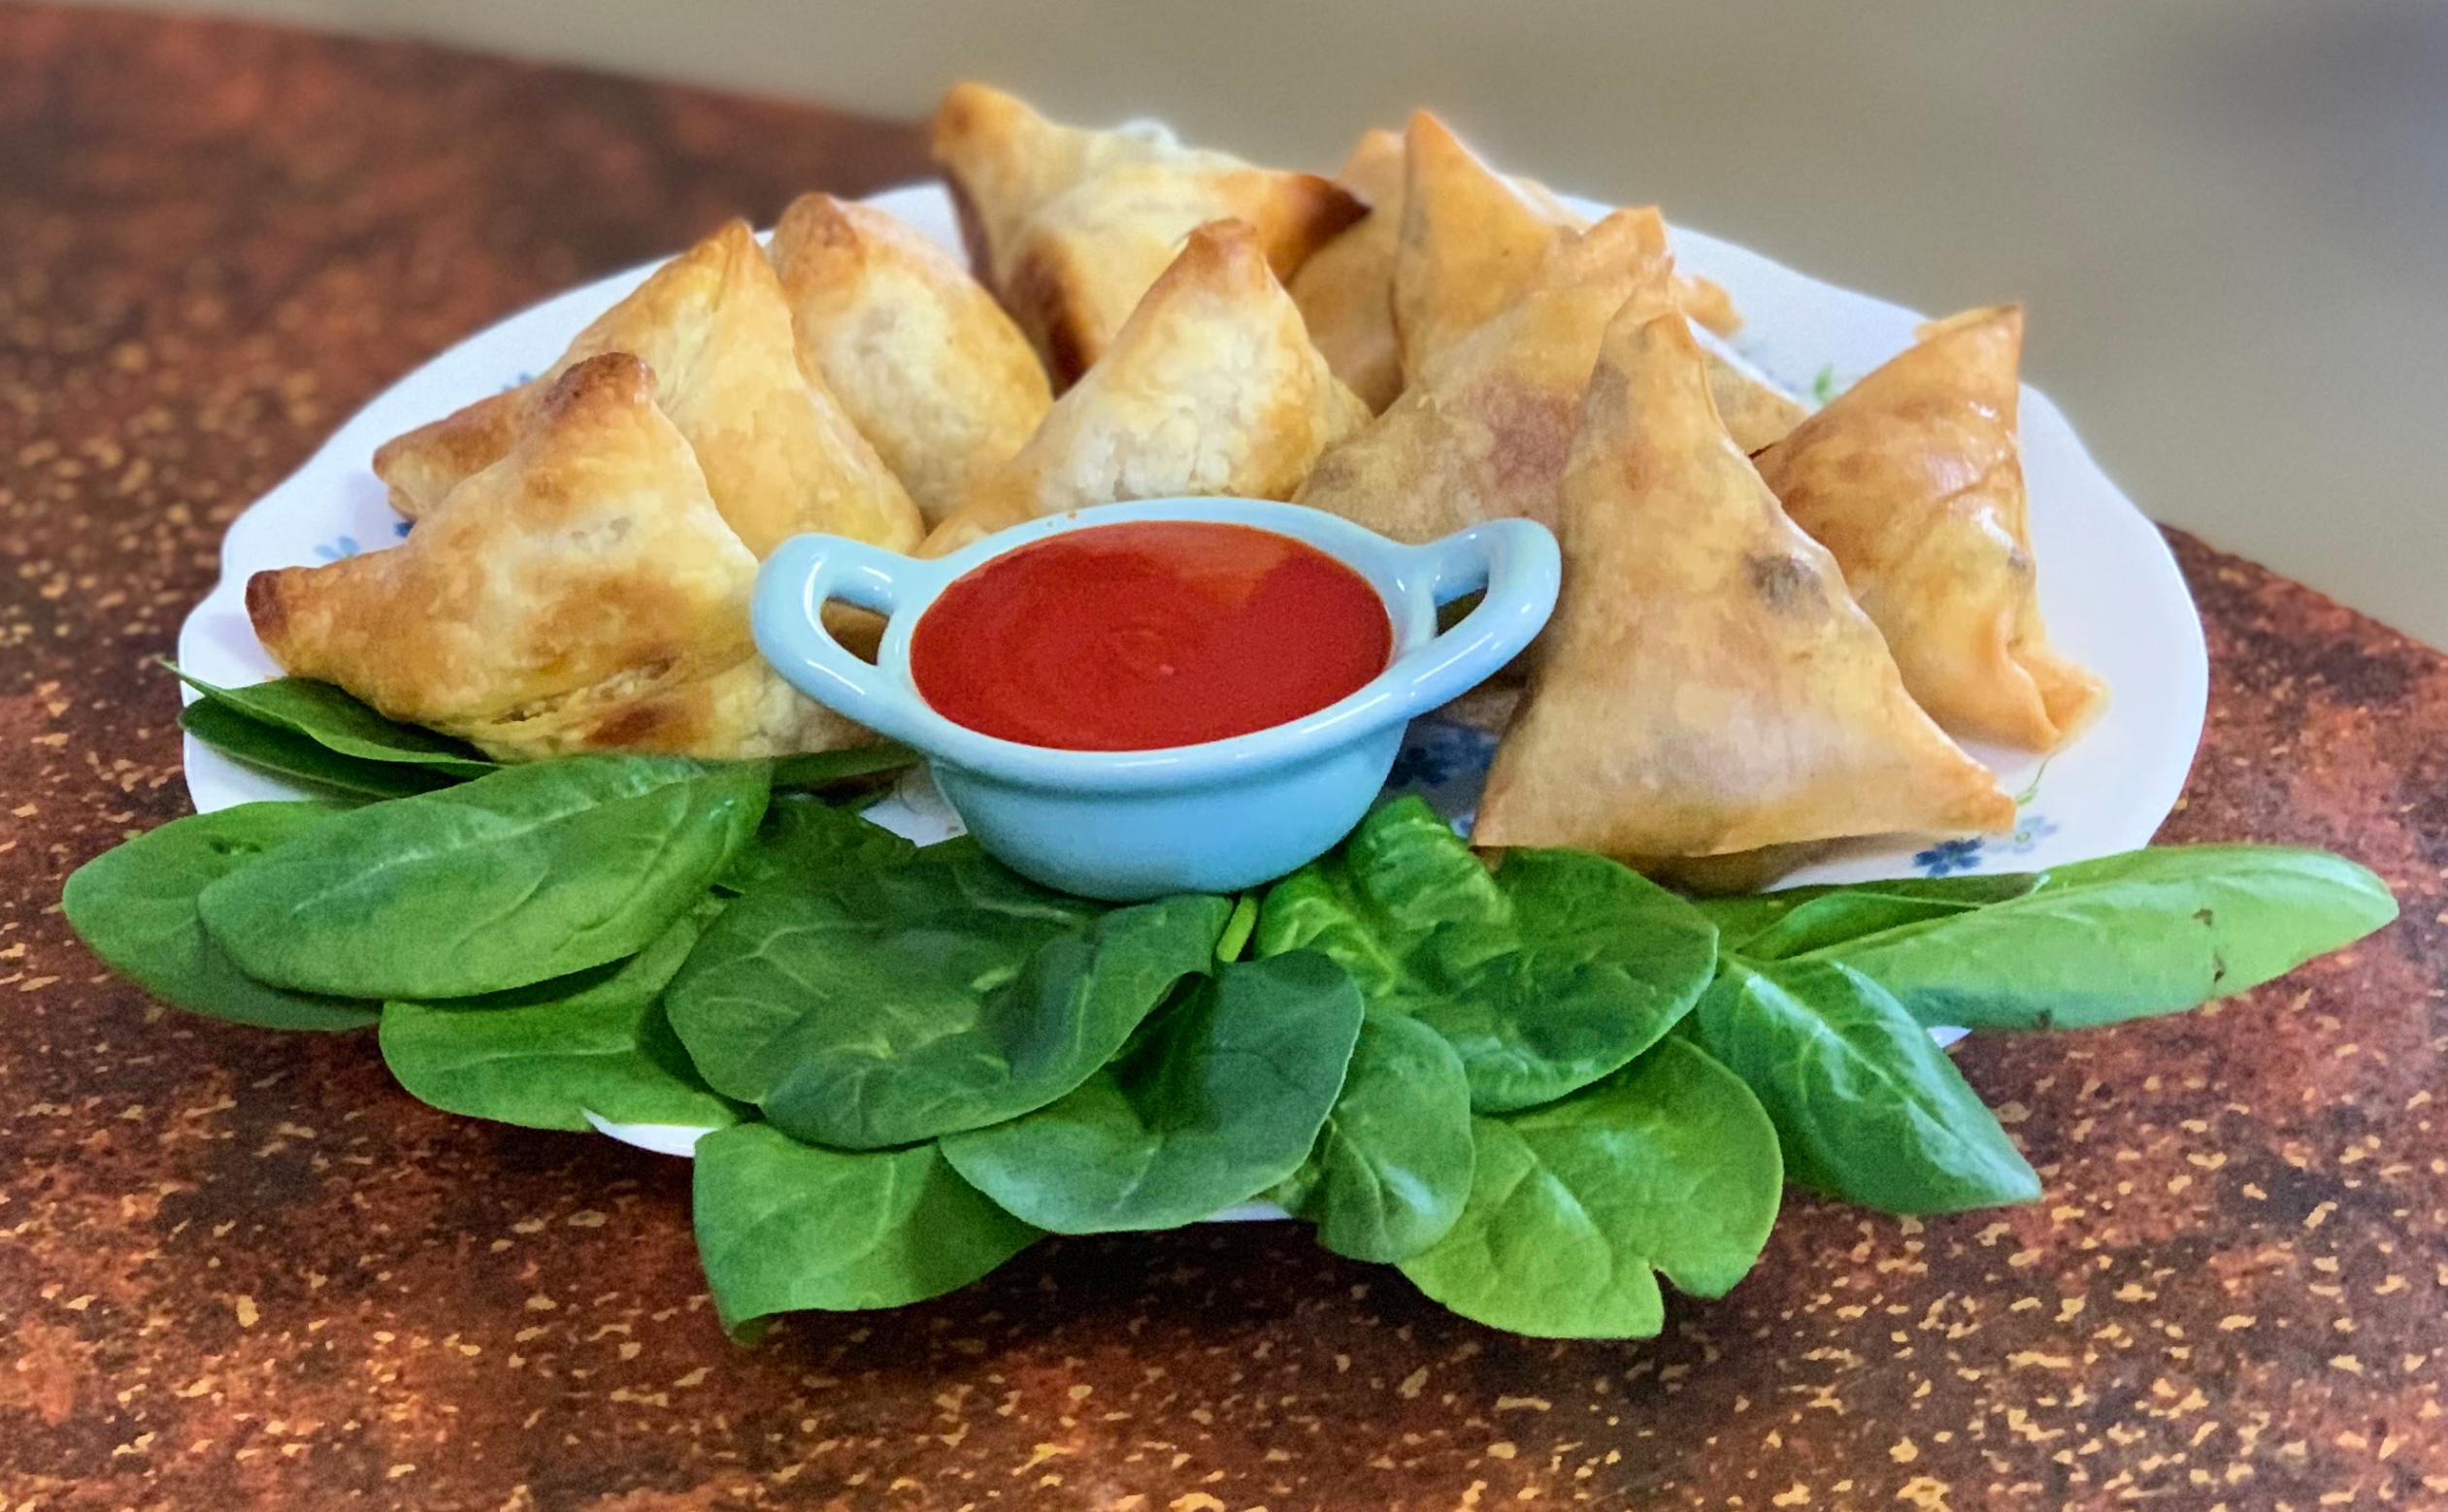
Mehar’s Indian Samosas
 India
India 
I was born in East Pakistan (now Bangladesh) and have very fond memories of my childhood. The new state of Pakistan with its far flung Western and Eastern wings came into being after India gained independence from the British Raj in 1947. My parents migrated from India to East Pakistan in 1953 and settled in Dakha (Dacca). East Pakistan separated from Pakistan to become an independent country, Bangladesh, in 1971.
Professionally my dad, Ali Hussain Siddiqui, was an entomologist, a scientist specialising in the study of insects. He worked in the Department of Plant Protection. At home, he also had a great passion for cooking. I remember when he returned from the USA after completing his Masters in 1962 and he brought an electric oven. He used to cook hunter beef, lamb roast and many other foods using the oven and he used to involve me in his cooking. He taught me how to make dough to make roti when I was hardly 10.
As I was growing up, I learned cooking skills from him. Now I realise that I have inherited my passion for cooking from my dad. He taught me how to make different kinds of meat dishes – biryani, yakhni pulao (a kind of Indian risotto), murgh musallam (roasted chicken with almonds and aromatic spices) and many kinds of sweets and desserts, including the popular Eid day dish, qemami sawain, which is a family favourite with my daughters and grandchildren.
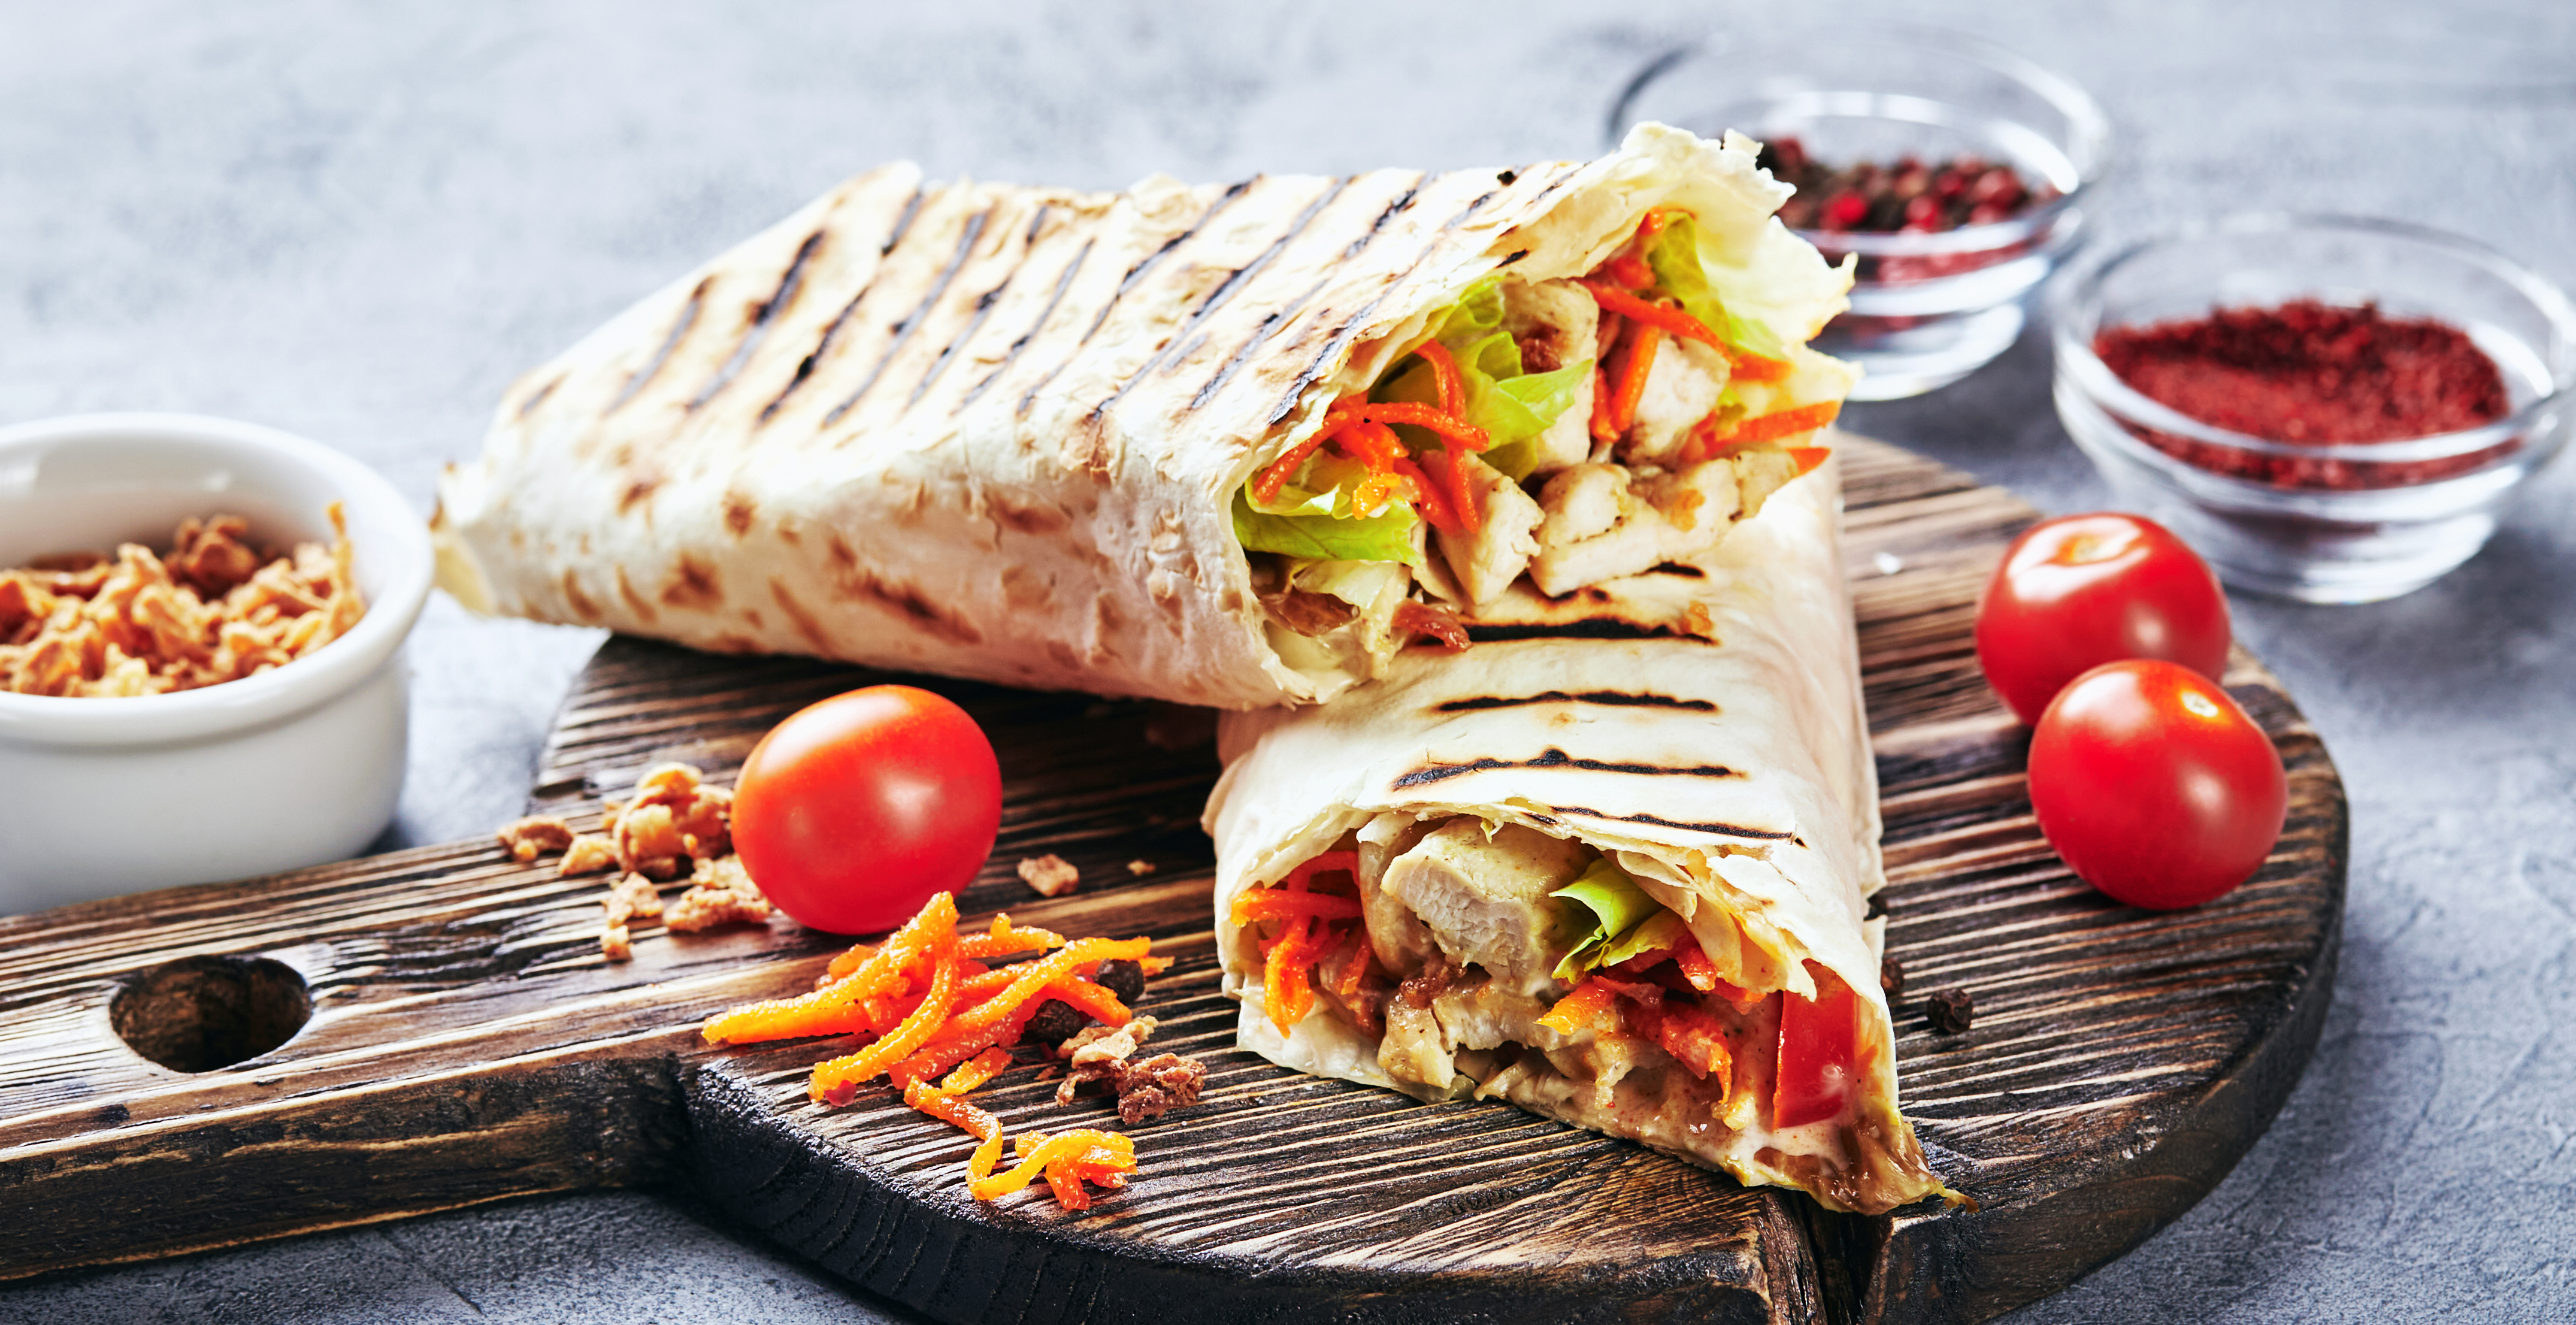
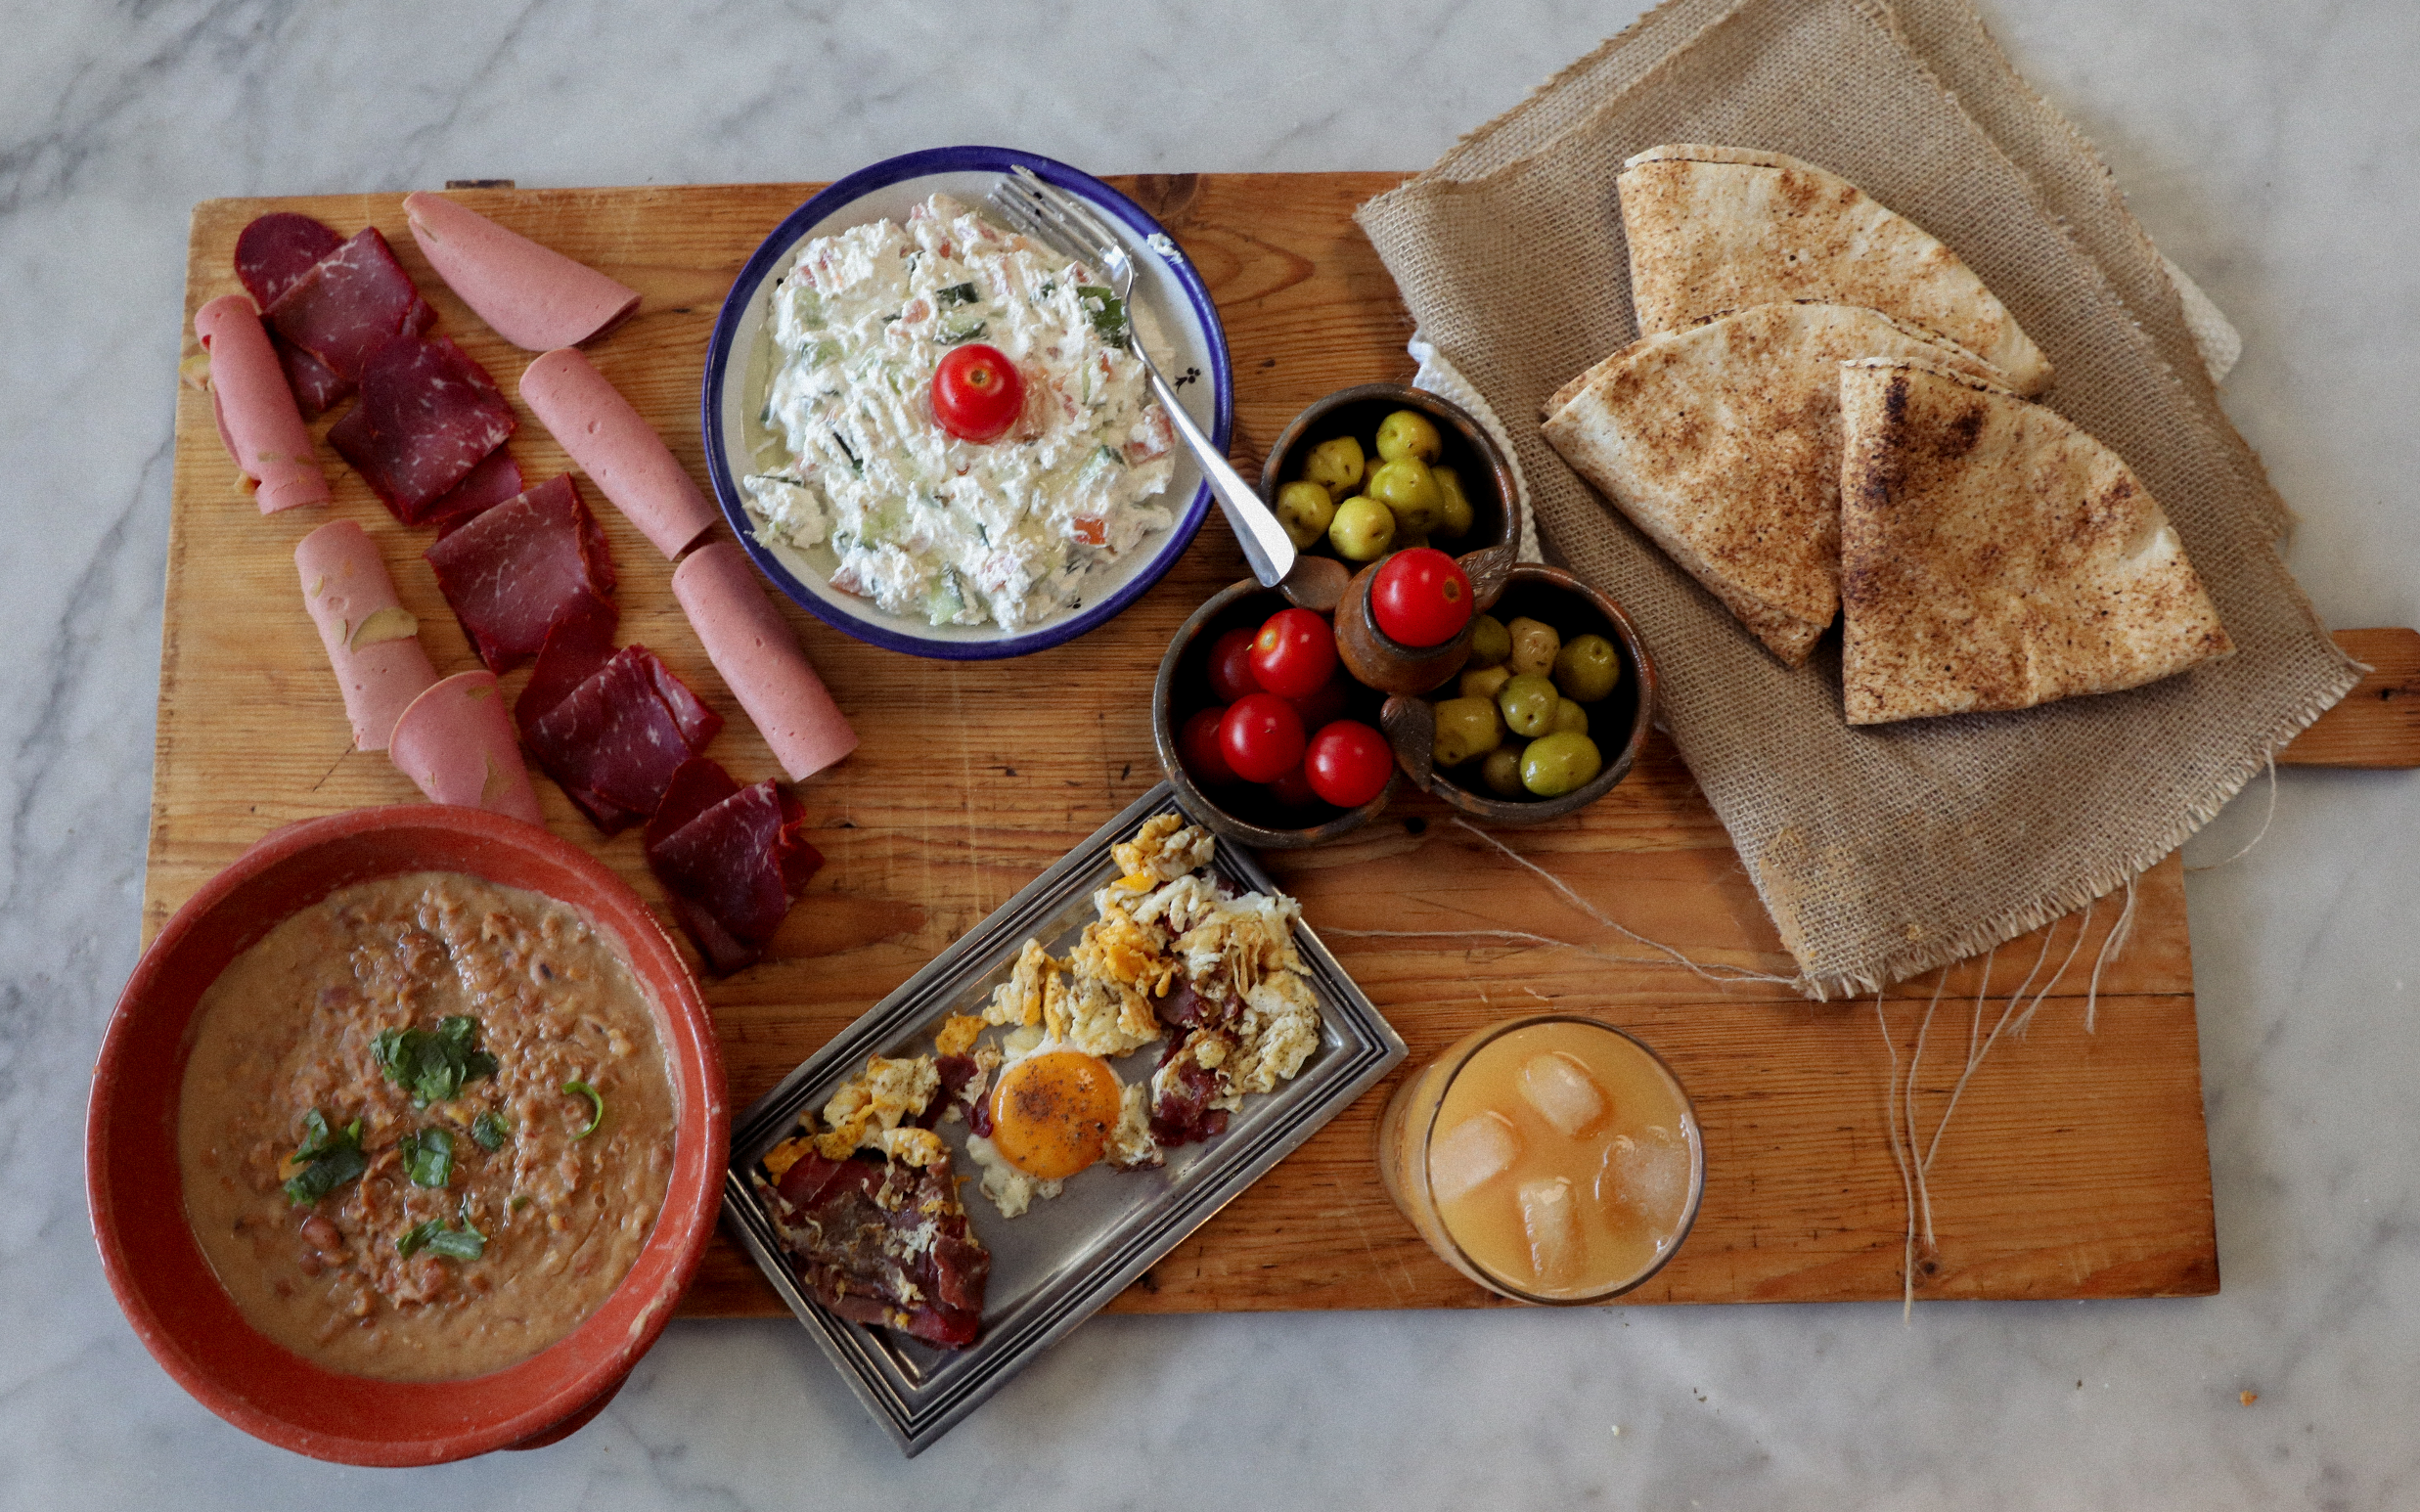
Mentioning Eid takes me back to the month of Ramadan in my childhood, when I started my fasting around the age of 7. As a little girl, I was fascinated by my parents fasting the whole day and as soon as we heard the Azan (call for Maghrib prayer) we broke our fast (Iftar) with dates and shikan Jabeen (homemade lemonade without soda), samosa, phoolki, ghoogni and kachaloo.
We regularly had samosa almost daily at Iftars with various varieties of Phoolki/Pakora (similar to falafel) cooked with different vegetables like dahi ki phoolki, baigan talla, piazoo, aaloo talla and Mirch talla on most days.
After Iftar my dad went to pray his Maghrib prayer in the mosque while I prayed at home. The Mahgrib prayer is the prayer after sunset and it was the norm in every household that after the Iftar, the men and boys went to pray in the mosque while the women and girls prayed at home. The dinner was served after my dad came back from the mosque. We didn’t have a car so he used to walk and it took him more than 40 minutes both ways.
Fasting only becomes mandatory after puberty around the age of 12 or 13 but most children want to start fasting at a much earlier age to emulate their parents. The first few years of fasting were difficult but slowly it became easier to fast the whole day.
Cooking in the last few hours of fasting was always very tempting. The aroma of samosas frying was just irresistible. The clock seemed to slow down and I kept asking my dad if it was time to break the fast yet? My dad used to say to read the Quran and the time will move fast. And he was so right. As soon as I felt hunger pains or was hit by the aroma of samosa, I opened my Quran and kept on reciting till Iftar time.
The Muzzin’s call for the prayer was the sweetest voice I longed for because I knew it was then time to break my fast. The dinner table would be full of different items but I broke my fast with dates and shiken jabeen (fresh lemonade) and then always went straight for the samosas.
History of Samosa
Samosas are a popular entree appetiser served in households and restaurants during special occasions such as weddings, birthdays, anniversaries and, of course, during Ramadan. A baked or fried pastry filled with savoury fillings such as mincemeat, spiced potato or mincemeat and potato together, it takes different shapes such as triangular or moon shape according to the region it is made in South Asia.
During Ramadan, Samosa is the most wanted street food. People who can’t make them or don’t want to make them at home just go out and buy their samosas from street vendors.
Initially, I thought that Samosa originated in India but later I found out that it actually took its name from Sambosak, the little pies and pastries which originated in the Middle East and were introduced to the Indian sub-continent in the 14th century by travelling merchants.
Samosa pastry is traditionally made with dough which takes a long time to prepare but as a result of cultural fusion, making Samosas is a lot easier nowadays. No more kneading dough. Spring roll pastry that you find in the shops is simply cut into strips, filled with the different fillings, folded into triangular shapes, then fried or baked. Really easy and ready in no time.
Making Samosa with puff pastry is closer to the real Indian Samosa but much easier – and again it can be shop-bought. Cut the pastry in circles using a small quarter plate then divide into semi-circles by cutting in half. Put the fillings in, then press the top flap of the cone and fry. The triangular wonder is ready!
The best part is that if you are health-conscious and don’t want Samosa fried, you can just bake or air-fry these beauties (using an air-fryer instead of a deep fryer using oil) and enjoy lower calorie, lower cholesterol samosas.
I normally use the large spring roll pastry packet that comes with 30 sheets. Cut the sheets into 3 strips, separate the sheets and then fill with the filling. The end flap of the sheet is stuck down by brushing flour and water paste on the flap. With puff pastry you don’t need anything – just press the opening so the filling cannot come out.
Making the samosas with these sheets you need to master some cutting and filling skills which improve with experience!
Both type of Samosas can be prepared in advance and put in the freezer to be cooked later. For the puff pastry Samosa, you don’t even need to thaw – just directly bake in the oven or the air fryer.
The Samosas made with spring roll pastry can be fried frozen – just be sure that the oil is not smoky hot otherwise the outer part of the Samosa will cook while the inside remains frozen. Once the oil gets little bit hot put the samosas in and cook on a medium flame. When the Samosas start to become a little golden turn the flame to high until they are golden brown.
Passing on the cooking skills and recipes
As I mentioned earlier, I inherited my passion for cooking from my dad. I love trying new things and cooking for family and friends as my dad did and I have been cooking with my daughters as my dad did with me. I have his recipe book but it is now so faded that I am unable to read his writing. I haven’t written my recipes as yet. But it is in the making. My youngest daughter Rubinah hangs around the kitchen, helps me cook and writes down the ingredients and the measurements so effectively she is writing my recipes for me and, who knows, maybe one day I will come up with my own recipe book! Meanwhile, by helping me, Rubinah has become the family pro at making Gulab Jamun, a divine Indian sweet.
I am now also passing my passion for cooking to my grandson Eesa, who is a great cook in the making. He loves samosa and was keen to help me this Ramadan. If an 11-year-old can make it, you can too!
Making Samosas is a great family activity during COVID-19 lockdown – or at any time. Do try it.
Share this story
Cut the potatoes in cubes and boil until tender. Drain. Set aside.
Heat 2 tablespoons of the oil on a medium flame, add ½ teaspoon each of turmeric, chilli and salt and stir for 5 seconds. Add the minced meat and keep stirring on a high flame until any watery juices have evaporated and the mince is cooked.
Heat the rest of the oil (2 tablespoons) in a different pan on a medium flame. Add all the seeds (Fennel, Cumin and Mustard) and as soon as the seeds start to crackle, add the remaining turmeric, chilli and salt and stir for a few seconds. Then add the potato and stir well until the potatoes are coated with the spices.
Add the cooked minced meat to the potatoes and stir gently until mixed together well. Be sure not to mash up the potatoes. Leave filling to cool. When cool stir in the coriander leaves gently.
TIP: Any leftover filling can be frozen for future use.
Option 1 – Making samosa using handmade pastry
1 cup or 250 g Plain flour
2 Tablespoons Oil
½ teaspoon Salt
¼ cup Water
- Mix the oil, salt and the flour together. Add the water little by little and mix the flour to make the dough. Samosa dough should be stiff and hard. Knead the dough to smooth a bit. Divide into 5 portions and roll into balls.
- Grease the rolling area and roll each ball into a round shape the size of a quarter plate. Cut the round shape in half. Join the straight edges and press gently to make a cone. Fill the cone with the filling and press the front flap. Seal the samosa by bringing the back flap to the front and pressing it down on top of the pressed front flap. Make sure that all sides of the samosa are sealed properly.
Option 2 – Making samosa using spring roll pastry – available in Asian stores
1 x large packet of Spring roll pastry (30 sheets)
Plain flour and water to make the paste.
- The pastry comes in a square shape and has 30 layers. Cut the whole pastry sheet twice to produce three equal strips, each with 30 layers. Separate the three strips. Cover two batches with a damp towel to rest or put back in the freezer to use next time. Each strip will make 30 samosas.
- Separate the layers and working with one layer at a time, make a cone from each of the 30 layered pieces. Fill the cone with the mince and potato filling mixture and continue folding the pastry diagonally until the end. Brush the end flap with the water and flour paste to seal. Folding is the fiddly part but therapeutic once you get the hang of it!
If you just want to cook 5 or 10 samosas, the rest can be placed in the freezer. When needed, you can fry them straight from the freezer without thawing them.
Option 3 – Making samosas using Puff Pastry – bought from any supermarket
Place a quarter plate on the pastry, press hard and make a round circle with a knife. Cut the round shape in half. Join the straight edges of each half and press gently to make a cone. Fill the cone with the filling and press the front flap. Seal the samosa by bringing the back flap to the front and pressing it down on top of the pressed front flap. Make sure that all sides of the samosa are sealed properly.
TO COOK:
Baking in the oven – Pre-heat the oven to 220 degrees. Place the samosas on a baking tray and place in the oven. Bake for 9 minutes or until golden brown.
Deep frying – Heat two cups of oil on a medium flame. Make sure that the oil is not smoky hot. Gently add the samosas one by one and fry on a medium flame. When the samosas turn golden and crispy, remove from the pan and place on a plate covered with paper towel to absorb the excess oil. Fry the next batch.
TIP: When frying always make sure the oil is not too hot and fry on a medium flame.
Air-frying – Put the samosas in the air-fryer without overcrowding them. Air-fry for 10 minutes or until golden brown.